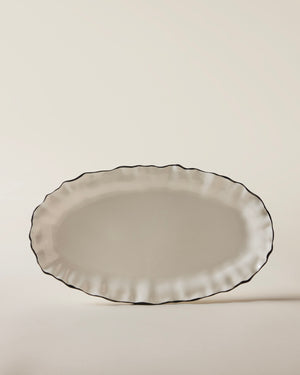
A DIY WITH KRISTIN YEZZA

|
MAKE YOUR OWN PLASTER PICTURE FRAME
If you haven't picked up a copy of Volume II yet, you're missing out on the truly magical home tour of LES Artist Kristin Yezza. Based out of Shaker Heights, Ohio, where she lives with her husband and four-year-old son, Theo, the Yezza's home is chalk-full of Kristin's whimsical ceramic pieces and countless DIY projects she has both masterminded and executed on her own. Kristin has graciously agreed to walk us through one such project - her handmade, one-of-a-kind plaster frames. |
 |
WHAT YOU'LL NEED:
- A plain frame – I would recommend grabbing one from goodwill
- Disposable latex gloves
- Some kind of measuring cup (I usually just use a recycled plastic container – don’t use anything you use for food)
- Some kind of bucket to mix plaster in (don’t use anything you use for food)
- Sandpaper of varying grits (80 grit, 120 grit, 220 Grit)
- N95 mask
- Varnish (any varnish that is suitable for plaster)
- Foam brush
 A scene from Kristin's home seen in Volume II, photography by Kelley Shaffer |
DIRECTIONS:
Step 1:
Remove glass and backing from frame and place frame on a thick plastic drop cloth or something similar. I wouldn’t do cloth because the plaster will stick to it.
Step 2:
Wearing a mask and latex gloves, cut gauze in smaller pieces about the width of your frame – I do them a little wider so they kind of wrap around the back. This does not need to be perfect. Cut enough to cover all of your frame.
Step 3:
Wearing a mask and latex gloves, dip one plaster gauze piece in your bucket of water so it is completely wet. Lay it on your frame and gently smooth over the surface until it’s smooth. Repeat until the frame is completely covered. Let dry.
Step 4:
Wearing a mask and latex gloves, mix plaster of paris as directed. I usually just mix a small amount – maybe a cup at a time because it sets up so fast. But make sure it’s still a little soupy so it’s easily pourable. This is where it gets a bit messy. Pour or slather a thin layer of plaster onto frame (this is where the plastic drop cloth is very helpful) to create a smooth surface on top of the plaster gauze. If your plaster sets up too soon just mix some more and keep going until you are satisfied. Let dry.
Step 5:
Wearing a mask and work gloves (not necessary but it’s nice so you don’t sand your fingers), use 80 grit sandpaper to sand down any areas you deem to lumpy or uneven. I then usually use 120 grit or up to 220 grit to give it a smooth finish.
Step 6:
Using a foam brush apply varnish according to directions. Depending on how wide you cut your plaster strips you may need to use an X-Acto knife to cut away an excess on that inner part of your frame where the glass will sit so it sits flush with the frame. I varnish the front and back just to keep the plaster locked in. Let dry and then frame!
|
One of Kristin's DIY frames hanging in her home, photography by Kelley Shaffer |
A SNEAK PEAK:
We are so excited to launch Kristin's beautiful collage work tomorrow, Wednesday August 3rd. Get a special early look below and sign up HERE to be reminded when the launch goes live.
 |
SHOP THE STORY:
|
|
|
